

Doing Something With a Server: Lets Encrypt
- Written by John
- Feb 10th, 2019
We’ve finally made it. In this article, we’ll go through how you can utilise the Lets Encrypt service to generate SSL certificates for your OpenLitespeed web server. This service is free to use for all.
What is Lets Encrypt?
Lets Encrypt is a free SSL certificate service that is provided by the EFF (Electronic Frontier Foundation) and their sponsors. In the beginning, there were a few sponsors, most notably Mozilla, Akamai and Cisco. But over time, as the service has developed, more sponsors have come on board.
The aim of the project was to enable web admins with a free service that allowed them to generate SSL certificates and apply them to their web servers. This initiative had two main drivers.
- less than 20% of all websites in 2014 used HTTPS
- the Heartbleed bug was found in OpenSSL and was being abused by many malicious actors, including the CIA
With these two main drivers alone the EFF had enough and set an initiative to try and combat the lack of HTTPS. Back in 2014 generating SSL certificates cost money and there wasn’t much of an incentive to use HTTPS. The web was very different back then compared to now. There was a lack of understanding of security vulnerabilities (outside of the security industry) and many websites misused user data. We’re now in 2019 where a lot of these issues are understood and, new initiatives like the General Data Protection Regulation are in place.
The Certbot client
In order to use the Lets Encrypt service, you need to use the Certbot client. This client is for Linux and BSD operating systems only. However, there may be an alternative client for other operating systems. The client allows you to generate and manage your SSL certificates.
The client was designed to automatically drop in SSL certificates directly into your web server. However, I have never used this feature as I’ve not used a compatible web server since I’ve been using Lets Encrypt. Other options to generate the certificates are available, which we will be using.
Installing the Certbot client for Amazon Linux 2
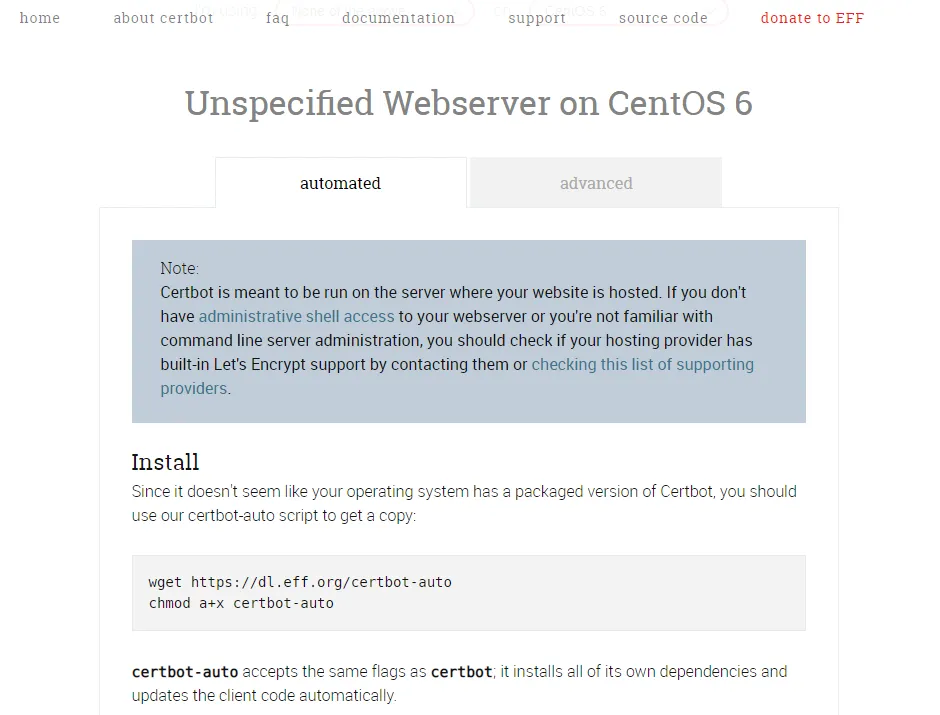
1 Log into your server and navigate to your home directory. Go to https://certbot.eff.org/ and select None of the above in the software dropdown and CentOS6 in the system dropdown (Amazon Linux is based on CentOS6 and is compatible). Download, set the correct permissions and run Certbot with the below commands.
wget https://dl.eff.org/certbot-auto
chmod a+x certbot-auto
./certbot-auto --debug
The client will start to install itself as well as all of its dependencies. Once installed you will be in a position to generate your SSL certificates.
Note 1: see the Certbot documentation for more information on other ways in using the Certbot client.
Installing Certbot client for Amazon Linux 2
Certbot is not officially supported on Amazon Linux 2 and as a result, is very difficult to get it working. Thankfully, Amazon has a guide on this to make the installation easier.
Navigate to your home directory and download and install the EPEL repositories.
sudo wget -r --no-parent -A 'epel-release-*.rpm' http://dl.fedoraproject.org/pub/epel/7/x86_64/Packages/e/
sudo rpm -Uvh dl.fedoraproject.org/pub/epel/7/x86_64/Packages/e/epel-release-*.rpm
When you are downloading and installing the EPEL repos, all EPEL repos are installed, including the testing repos. We only need to enable the main EPEL repo.
sudo yum-config-manager --enable epel
Now install the Certbot client.
sudo yum install certbot
You can confirm Certbot is working as expected. You should receive an error message asking you to run the correct command.
sudo certbot --debug
Obtaining SSL certificates
Now everything is installed and working as we expect, we need to generate our SSL certificates for our web server.
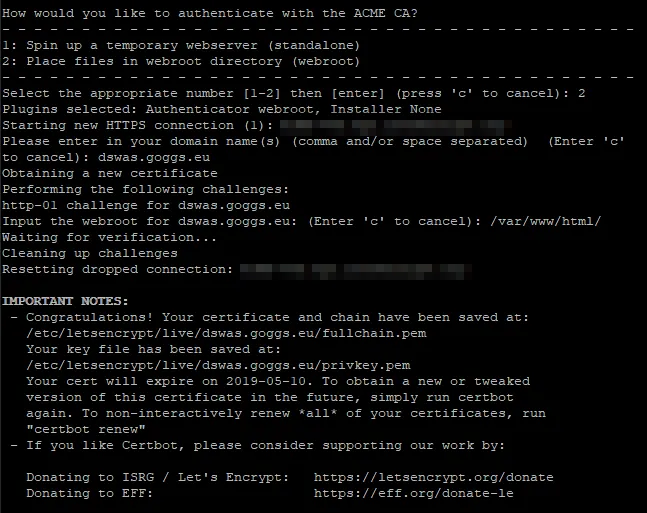
sudo certbot certonly
You will be asked a series of questions, please read and mark each option correctly. You will be asked how you want to authenticate with the ACME CA. Select option 2 as this option will allow you to renew with minimal issues. You will have to input the directory location of the webroot for your domain. This is where your web files are located. For my installation they were placed in /var/www/html/. For your installation the webroot directory may differ.
Applying SSL certificates to OpenLitespeed
Now that we have generated our SSL certificates we need to apply them to OpenLitespeed. There’s not much we need to do but we need to ensure we do the following.
- add a firewall rule for port 443 – this is the same rule that you would have previously done for port 80
- add a new listener in the OpenLitespeed Admin panel
- add the vhost to the new listener
- apply SSL certificates to Webmin
Add a new listener
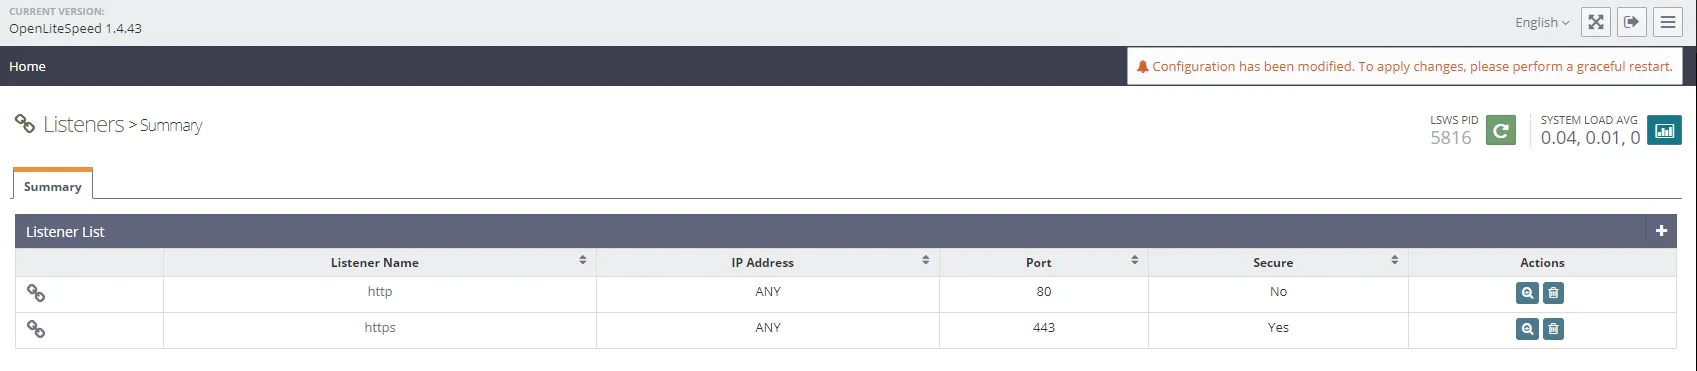
Log into the OpenLitespeed admin panel and click on Listeners on the left. You will notice that there is only one listener that is non-secure. By non-secure it is only configured for HTTP connections only. We need to setup a new listener to listen and accept HTTPS connections.

Click on + to add a new listener, filling in the required details then click on SAVE.

A new listener for HTTPS connections has been created but it needs to be configured. Click on the new listener and go to the SSL tab. Edit and configure each section with the relevant details.
SSL Private Key & Certificate
- Private Key File: /etc/letsencrypt/live/{domain}/privkey.pem
- Certificate File: /etc/letsencrypt/live/{domain}/fullchain.pem
- Chained Certificate: Yes
SSL Protocol
- Protocol Version: TLS1.2 – you can enable TLS1.0 and TLS1.1 but are less secure
- Ciphers: ECDHE-ECDSA-AES256-GCM-SHA384:ECDHE-RSA-AES256-GCM-SHA384:ECDHE-ECDSA-CHACHA20-POLY1305:ECDHE-RSA-CHACHA20-POLY1305:ECDHE-ECDSA-AES128-GCM-SHA256:ECDHE-RSA-AES128-GCM-SHA256:ECDHE-ECDSA-AES256-SHA384:ECDHE-RSA-AES256-SHA384:ECDHE-ECDSA-AES128-SHA256:ECDHE-RSA-AES128-SHA256
- Enable ECDH Key Exchange: Yes
Security & Features
- SSL Renegotiation Protection: Yes
- Enable SPDY/HTTP2: Check SPDY/2, SPDY/3 & HTTP/2
Once all items have been configured we need to add the vhost to the new listener. Click on the General tab in the HTTPS listener and under Virtual Host Mappings click on +, select the correct virtual host and input the correct domain name. Now you can click on SAVE and restart OpenLitespeed. You should now be able to navigate to https://{domain}, in my case that would be https://dswas.goggs.eu and it should load without any issues.
Note 2: Feel free to look further into some of these other settings as you may require them for your use case.
Apply SSL certificates to Webmin
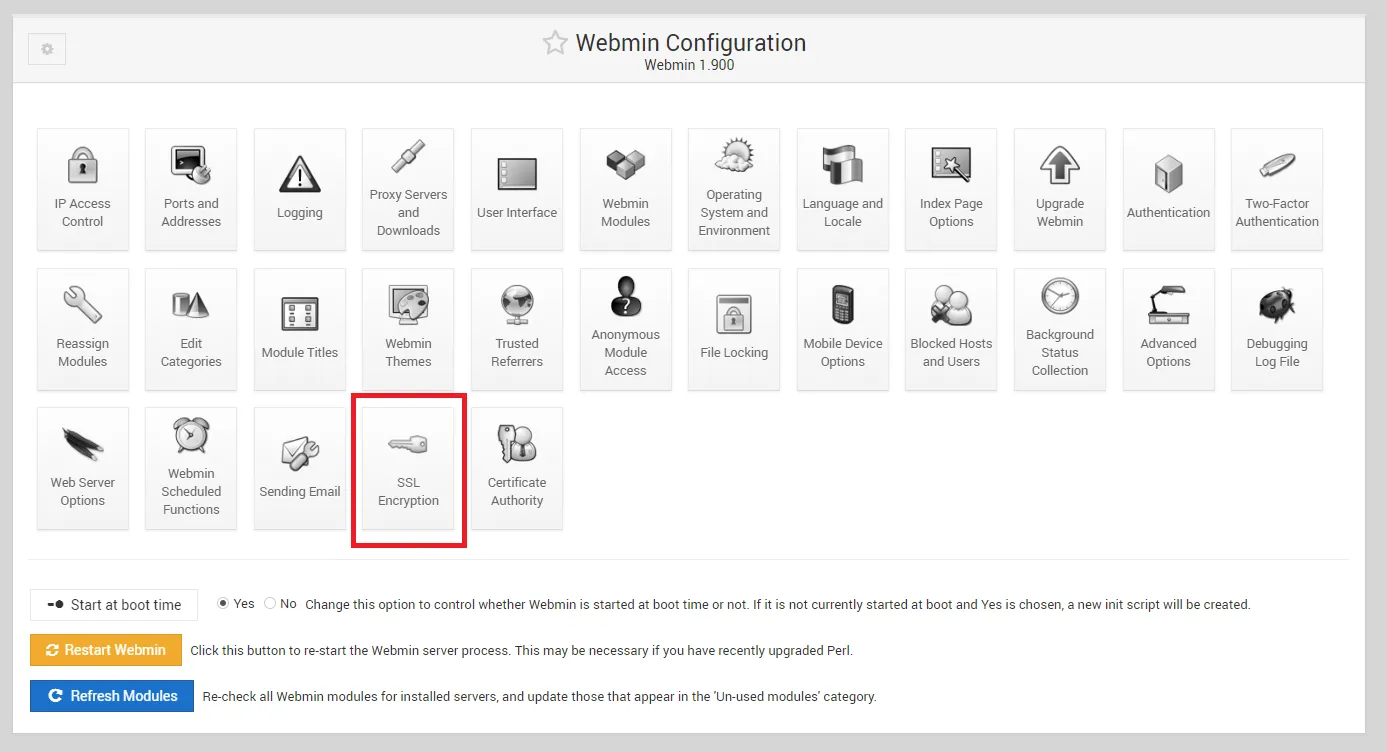
There’s one last thing to do which is to apply the SSL certificates to Webmin. This is to allow us to log into Webmin using HTTPS. Once this has been configured, we’ll no longer get the HTTPS error that we have previously seen when logging into Webmin. Log into your Webmin panel and navigate to Webmin then Webmin Configuration on the left. Go to SSL Encryption.
There are similar options when compared to the OpenLitespeed configuration. Configure Webmin SSL Encryption as follows and click SAVE.
- Enable SSL: Yes
- Private Key: /etc/letsencrypt/live/{domain}/privkey.pem
- Certificate File: Select separate file, /etc/letsencrypt/live/{domain}/fullchain.pem
- Redirect non-SSL requests to SSL mode?: Yes
- SSL protocol version: Detect automatically
- SSL protocol versions to reject: SSLv2 & SSLv3
- Allow compressed SSL connections: No
- Force use of server-defined cipher order: Yes
- Allowed SSL ciphers: ECDHE-ECDSA-AES256-GCM-SHA384:ECDHE-RSA-AES256-GCM-SHA384:ECDHE-ECDSA-CHACHA20-POLY1305:ECDHE-RSA-CHACHA20-POLY1305:ECDHE-ECDSA-AES128-GCM-SHA256:ECDHE-RSA-AES128-GCM-SHA256:ECDHE-ECDSA-AES256-SHA384:ECDHE-RSA-AES256-SHA384:ECDHE-ECDSA-AES128-SHA256:ECDHE-RSA-AES128-SHA256
What’s next?
Now you have a web and SQL server you have many options to utilise it. You could set up a forum or a blog, like this blog as it runs off of WordPress. The options are almost endless but you should go ahead and give something a try. Have a look at WordPress, phpBB and Matomo (formerly known as Piwik).
Resources
This section covers links to resources on the web.
- Electronic Frontier Foundation (EFF) – https://www.eff.org/
- Lets Encrypt – https://letsencrypt.org/
- Certbot – https://certbot.eff.org/
- Certbot Documentation – https://certbot.eff.org/docs/
- Amazon Linux 2 Certbot Install Guide – https://docs.aws.amazon.com/AWSEC2/latest/UserGuide/SSL-on-an-instance.html#letsencrypt
- SSL Cipher Generator – https://mozilla.github.io/server-side-tls/ssl-config-generator/
- SSL Labs Security Check – https://www.ssllabs.com/ssltest/