

Doing Something With a Server: Webmin
- Written by John
- Feb 6th, 2019
We’re almost done, just hang on in there.
Now we have everything set up and your website is running, you may be wondering if there is an easier way to manage your virtual machine? Don’t worry, we have you covered. Or should I say Webmin has you covered. If you find it difficult to manage an operating system via CLI, like myself, you will find Webmin is very easy to do that.
Installing Webmin
As we have already set up the repo we need to install Webmin. Once installed there’s not much configuration to do. The only thing to take note of is where you’re using a cloud provider like Amazon. The cloud provider will more than likely have a separate firewall or security group where you’ll need to whitelist the port for Webmin. Be careful with this since you’ll be exposing Webmin to the web. You should be able to whitelist your public IP address as well, at least to get Webmin configured into a place which is secure.
sudo yum install webmin
Once installed set Webmin to start on boot and start it up.
sudo chkconfig webmin on
sudo systemctl start webmin
Now you should be able to navigate to https://{hostname}:10000. Log in with the user root and the password of root on the server. If you’re unable to navigate to Webmin, use the public IP address of your server instead of your hostname.


- System Information – this is where you can view basic information for your server
- Navigation drawer – this is where you can navigate around the different management areas for your server. You can manage anywhere from users to databases
- Notifications – all notifications as part of Webmin will show up here
- Recent Logins – all logins into Webmin will show up here
Securing Webmin
Now that you have logged into Webmin we need to secure it. Using the root account is a big no-no. If someone malicious obtained your root login credentials they’d be able to do what they would like to your server. Let’s start by removing the root user from Webmin.
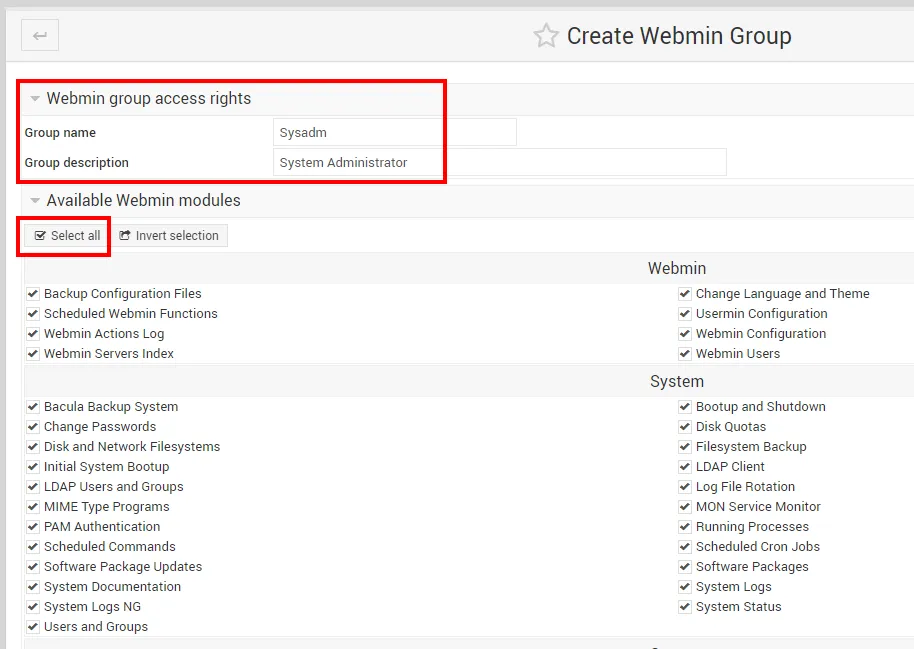
- Navigate to Webmin -> Webmin Users
- Click on Create a new Webmin group
- Enter a name for a system administrator
- Click on Available Webmin Modules -> Select all
- Scroll down to the bottom and click on Create

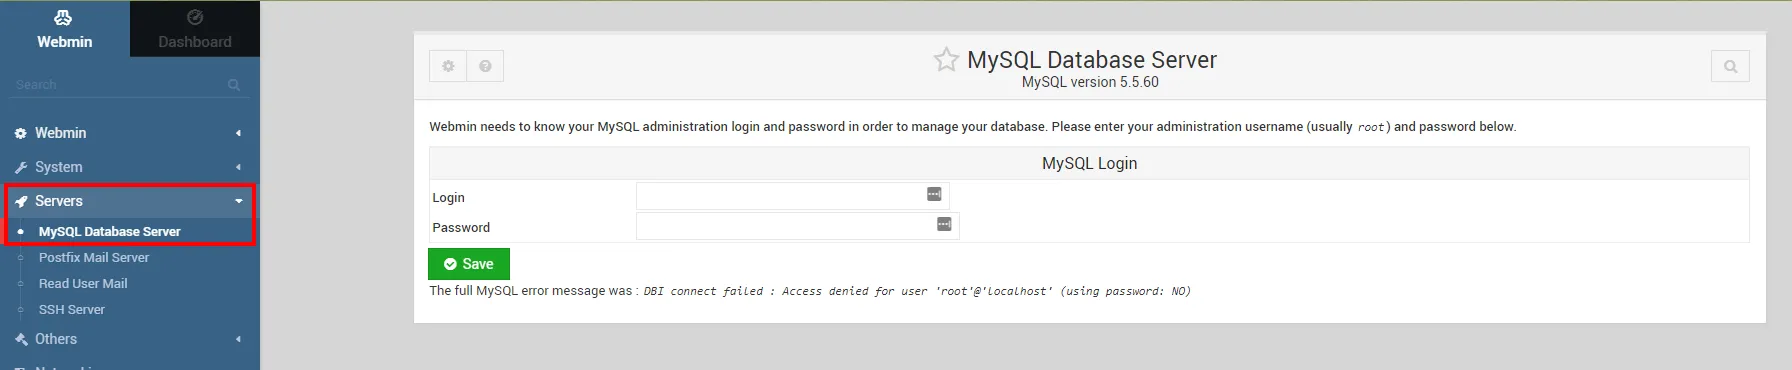
Managing Your Databases
As I touched upon the previous article you can manage your databases with Webmin. Navigate to Servers -> Databases. You will need to log in with your SQL administrator account. If you’ve not set up any other accounts since configuring MariaDB, the credentials will be what you specified for the root account.
If you’ve given the correct credentials you will see databases and options for managing MariaDB. From here you can change options, create databases, etc.
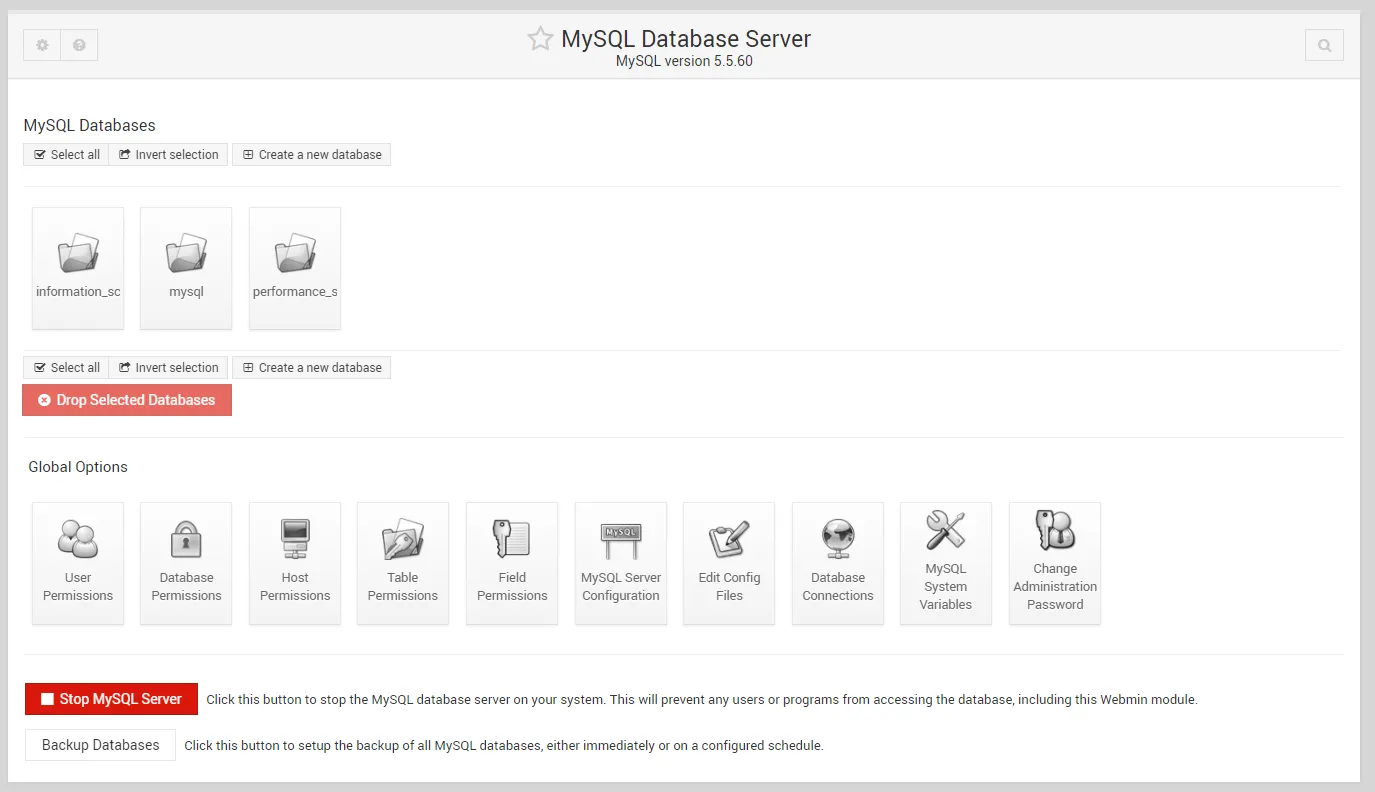
I’m not going to go into too much detail with how we manage an SQL server or databases. There are plenty of articles on the web for that. Play around with Webmin and have fun.