

Lets Encrypt: What's new (at least for me)
- Written by John
- Feb 17th, 2019
I recently spoke about how you can use Lets Encrypt in Doing Something With a Server: Lets Encrypt. We went through what Lets Encrypt is, its benefits and how to install and use Lets Encrypt. However, since publishing that article, I have come to realise how many new features there are with the release of ACME v2 and wildcard certificates. Features that I have wanted to have since day 1.
I’m not going to cover what Lets Encrypt is and what it tries to accomplish. For that, you can read the Doing Something With a Server: Lets Encrypt article.
The changes
Ever since ACME v1 (Automated Certificate Management Environment) released, in September 2015, Lets Encrypt and the ACME protocol has been missing certain features that ensure the authentication and delivery of the certificates are secure. This is where ACME v2 protocol comes in. ACME v2 mainly gives the ability to request for wildcard certificates and authenticate certificate requests using a custom domain. The main benefit for the ACME v2 protocol is being designed as an IETF standard, allowing the standard to be used by other CAs.
You can view further information on the <a href=“https://letsencrypt.org/2017/06/14/acme-v2-api.html” target=_“blank”>announcement and features of the ACME v2 protocol.
How to use Lets Encrypt
Certbot is the official client of Lets Encrypt and is what allows you to request and receive certificates through a variety of methods and protocols. The client uses the ACME v1 and v2 standard. The client supports most Linux distros and Unix. You can use the Certbot website to install the client for your OS. Some clients can be installed using a repo and some require the client to be downloaded.
Your options
There are many configuration options available with the Certbot client. You can specify anything from the RSA key size to your preferred challenge method. All options can be used in 1 of 2 ways.
- specify the options in the certbot command directly
- specify the options in the certbot configuration file
The options that you use can be specific to either the client you’re using or the ACME protocol version. For example, if you’re using Debian 9, you can use the Certbot client from the repo and, you can specify the DNS preferred challenge method. This preferred challenge method uses the ACME v2 standard and requires you to use client version 0.22.0 and above.
Note 1: go here for a list of third party clients that use ACME v2
Other options can be specific to your web server or OS configuration. This can change how the Certbot client downloads the certificates for your domain. For example, if you’re using Apache web server, the Certbot client can automatically install certificates into the correct directory.
When generating certificates, I use options that will increase the security of the certificates or how Certbot authenticates certificates against my domain. The following options are what I use.
- rsa-key-size – by default, the privkey is generated with 2048 bits. Using this option allows you to increase the key size
- preferred-challenge – since the release of ACME v2 I use DNS challenge. This ensures my domain is authenticated by adding a txt record to it with a specific string generated by Certbot
- -d or –domain – this option specifies which domain(s) you want to generate certificates for
_Note 2: for a list of all available commands for Certbot, go _here*
Putting it into practice
Now it’s time to look at applying what we’ve learned into practice. I will be generating a new certificate for the dswas.goggs.eu subdomain. To generate these certificates, I am using Debian 9.8 in a virtual machine. I am generating these certificates using certonly mode as I don’t require any hook-in to Apache or Nginx.
Creating the config file
As described earlier there are two ways to specify commands. In this example, we’ll create a config file and use that to generate our certificates.
Create an ini file anywhere in your environment.
vi ~/dswas.goggs.eu.iniCopy and paste the following config file, ensuring you change the values to fall in line with your environment. To understand what options you can apply, go to the Certbot User Guide page.
# This is an example of the kind of things you can do in a configuration file.
# All flags used by the client can be configured here. Run Certbot with
# "--help" to learn more about the available options.
#
# Note that these options apply automatically to all use of Certbot for
# obtaining or renewing certificates, so options specific to a single
# certificate on a system with several certificates should not be placed
# here.

# Email to register against the domain
email = youremail@example.com

# Force Certbot to use ACME v2 server
server = https://acme-v02.api.letsencrypt.org/directory

# Preferred challenge
preferred-challenge = dns

# Use a 4096 bit RSA key instead of 2048
rsa-key-size = 4096

# Domain names to apply. You can use comma separated values to generate certificates for multiple domains
domain = subdomain.rootdomain.com
Installing the client and generating the certificates
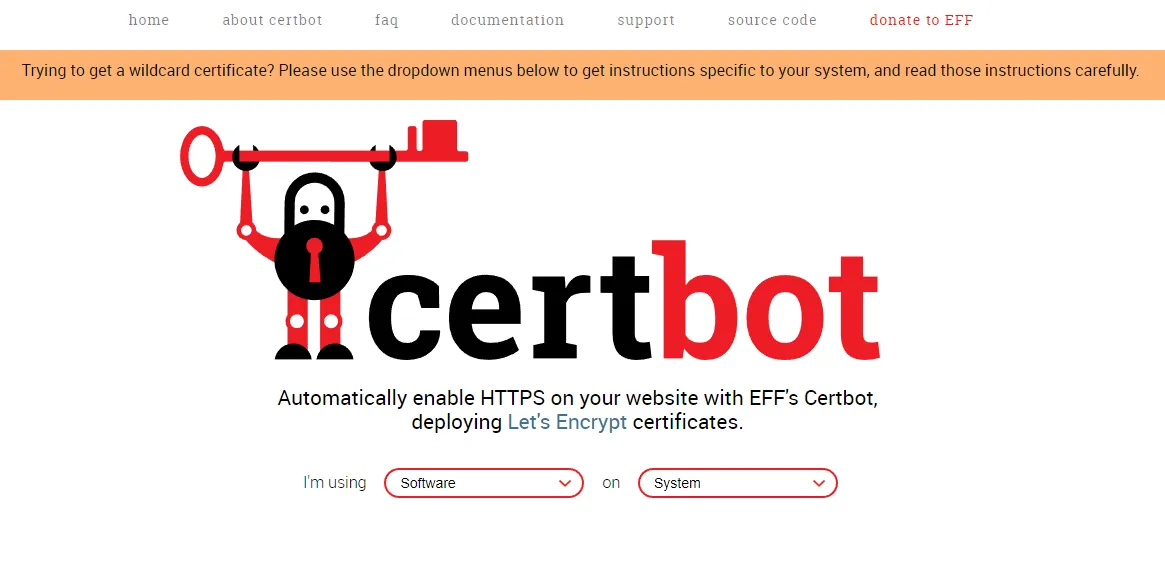
Go to https://certbot.eff.org/ and select None of the above for software and Debian 9 for system.
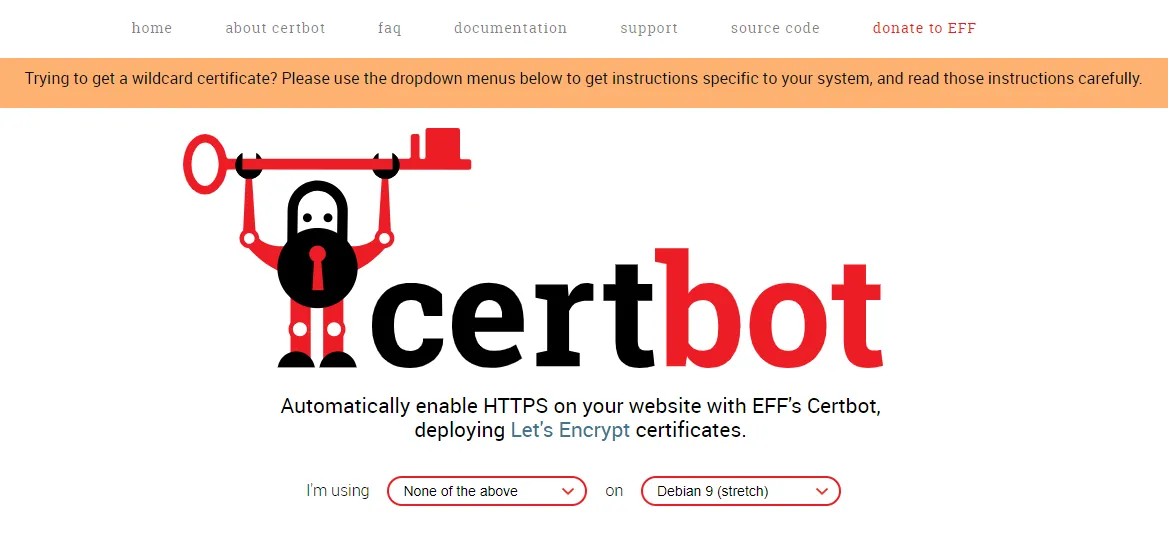
The website will then display instructions for you to follow to install the Certbot client.

As described in the instructions, use the following commands to install Certbot. During the installation, you’ll need to press ‘Y’ to accept the installation.
sudo apt-get install certbot -t stretch-backportsRun the Certbot command with the config file to start generating certificates.
sudo certbot certonly --manual -c ~/dswas.goggs.eu.iniThe Certbot client will start and go through the following options.
-
Agree to ToS – please read the ToS if it’s the first time you’re using Lets Encrypt. Agree to the ToS if you do agree with it
-
Share email with EFF and partners – this is optional but select no if you do not want to share your email
-
You will be asked for your IP to be logged – if you want to use Lets Encrypt you have to select yes. If you do not agree with this please select no and use another CA
-
You will be asked to create a txt record under the domain you have requested certificates for. Certbot will give you the host and value that you will need to insert into the new record. To add a txt record to your domain:
- Log into your domain registrar or DNS service provider
- Go to manage DNS or the section where you add DNS records to your domain
- Add a new txt record, entering the host and value from Certbot – you do not have to enter the whole host as your domain already covers the root, you will only need to enter _acme-challenge.dswas in this example
- Set the TTL as low as possible
- Use a domain lookup service to check if the new record has applied to your domain – you can use GSuite Toolbox Dig
-
Once the new record has been applied to your domain press Enter for Certbot to check the newly added txt record and to complete the challenge
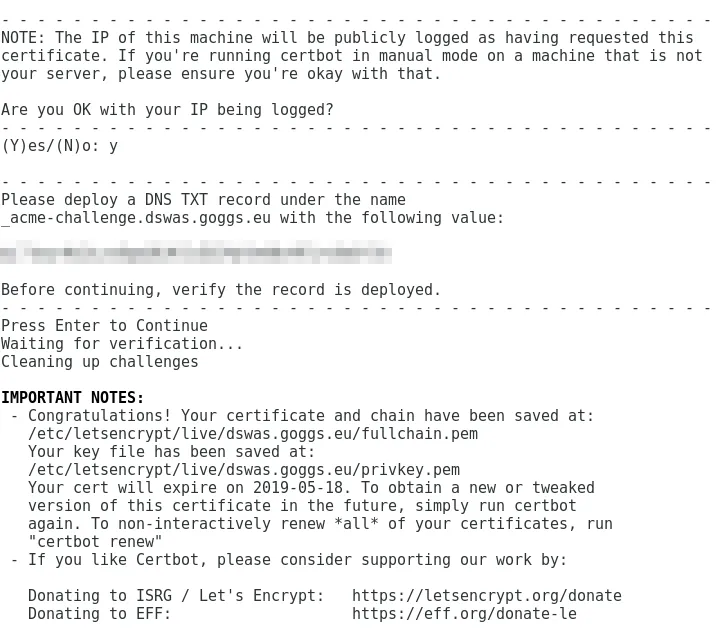
The client will confirm if the challenge has been successful or not. If it has you will get a congratulations message. If you receive an unsuccessful message, you may need to allow your environment to communicate with the internet. By default, all certificates will download to the /etc/letsencrypt/live/{domain} directory.
Note 3: Certbot will place all certificates within /etc/letsencrypt/archive/{domain}/{x}/ directory. The live directory above has a symbolic link to the certificates in the archive directory. You can see this in the below screenshot. Certbot will manage the certificates and symbolic link for you.

What to do now?
Now you have your certificates you can apply them to your web server or any other environment. You can even use them in cloud services such as AWS or GCP App Engine. The certificates provide a full chain so you can apply them anywhere.
Renewing your certificates
Certificates generated by Lets Encrypt will be valid for 3 months before they are required to be renewed or generated again. Renewal is very straight forward and requires 1 command to be used.
sudo certbot renewCertbot will use the same configuration for renewal as what you used when generating the certificates. Certbot does this as the configuration is stored in the /etc/letsencrypt/renewal directory. If you’re using the Certbot client from the repo Certbot will auto-renew your certificate. If you’re using certbot-auto, you will need to set up your own script or cron job to auto-renew. Further information for renewing certificates can be found here.
Resources
- https://certbot.eff.org/ – Certbot website
- https://letsencrypt.readthedocs.io/en/latest/using.html – Certbot user guide
- https://letsencrypt.org/docs/client-options/ – ACME client implementations
- https://letsencrypt.org/ – Lets Encrypt website
- https://letsencrypt.readthedocs.io/en/latest/using.html#renewing-certificates – certificate renewal