Migrating Wordpress to App Engine - Configuring GCP
- Written by John
- May 6th, 2019
Now you’ve setup your Windows or Linux environment we need to configure a Google Cloud Platform project. Once configured you can deploy Wordpress into App Engine. If it is your first project, you can get $300 of free credit for one year, providing you don’t burn through it.
Before we start to configure GCP, a few things to note.
- I will be creating a project called goggs-wordpressgae
- goggs-wordpressgae is a burn project and will be deleted after this series
- GCP requires a debit or credit card
With that out of the way, let’s get started.
App Engine
App Engine is a PaaS (Platform as a Service) that allows you to run applications without requiring you to spend time managing your infrastructure, giving you more time to spend on developing your applications.
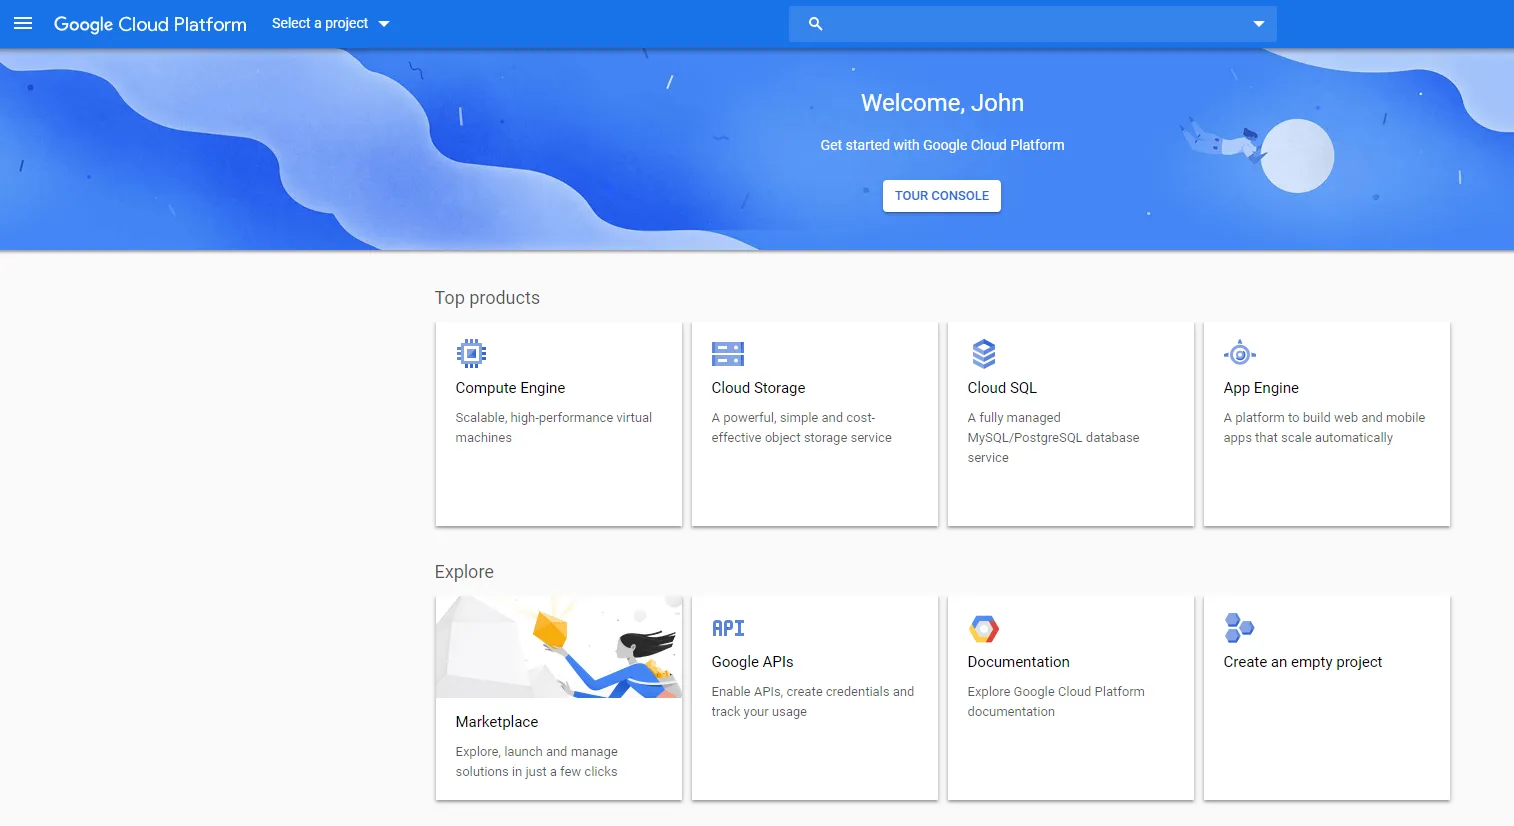
To setup a new project, head on over to https://console.cloud.google.com.
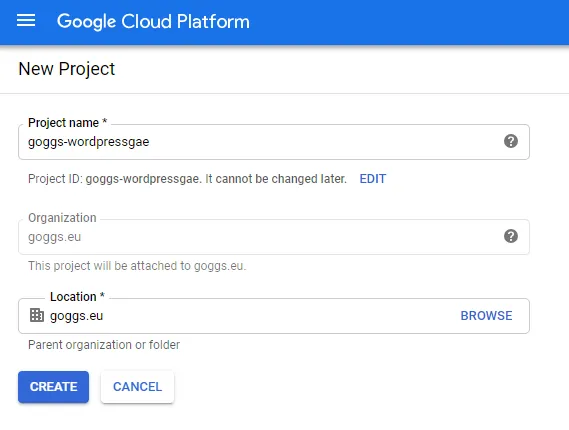
Click on select a project at the top and click on new project.


Enter a project name^[Your project name must be globally unique.], set the location^[If your Google account is licensed, change the location to the name of your GSuite organisation. If you’re having difficulties, please see your GSuite or GCP administrator.] and click on create.
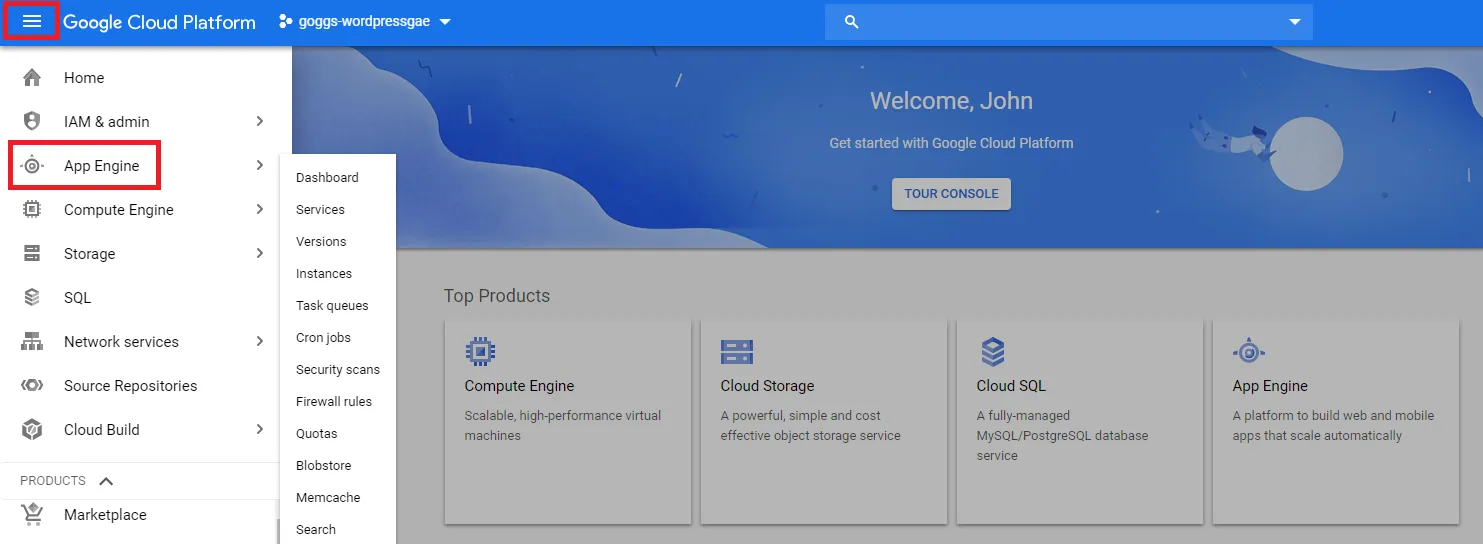
Cloud Console will take 20-30 seconds to build your project. You can check the status of your project by viewing the notifications tray in the top right corner. Once your project has created, navigate to App Engine.
When you visit App Engine for the first time, you’ll find a couple of items that’ll show you how to run your first app. Click on create application to enable and configure App Engine.

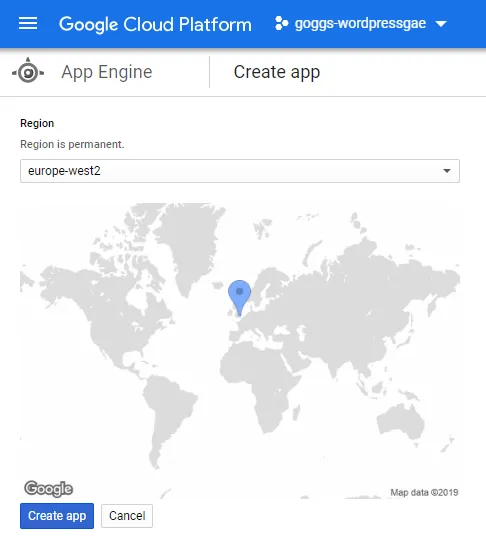
Select which region you want your application to run in and click on create app. Bear in mind App Engine may not be available in all regions and can’t be altered once set. Click here to see a list of App Engine locations.
Once you’ve selected your region, you can choose which language your application will run in. This step is optional but will allow GCP to link you to resources that will help you to run and deploy your application.
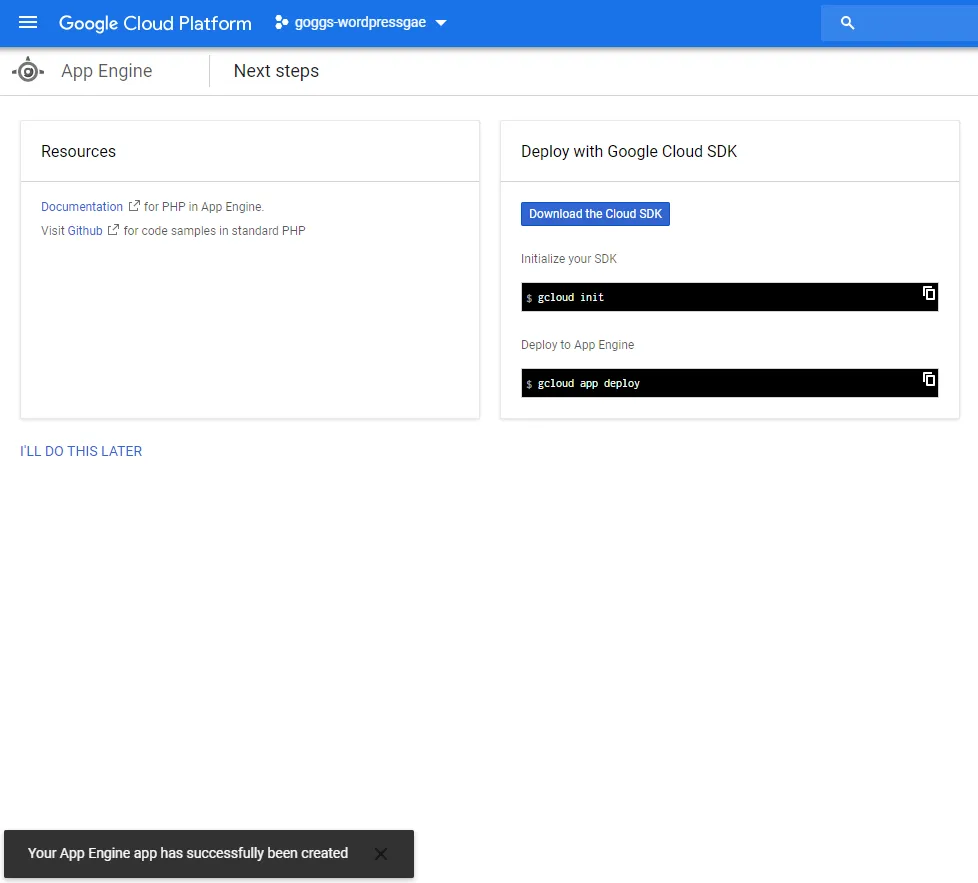
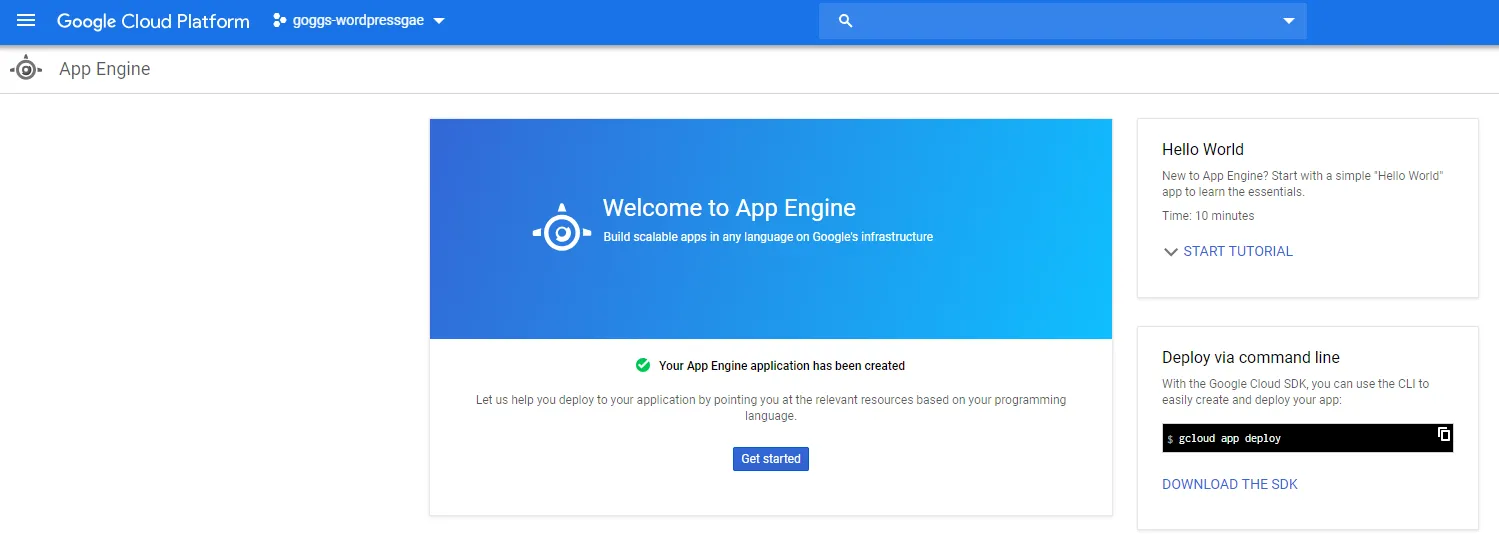
We’ve already setup the GCloud SDK so we can skip this step. The App Engine dashboard will now show you App Engine has been initialised and you can start to run your applications.
Before you deploy Wordpress to App Engine, we need to setup a Cloud SQL environment.
Cloud SQL
Cloud SQL is Google’s SQL platform. It allows you to run SQL databases within the cloud for your applications. You can create MySQL or Postgres SQL databases.
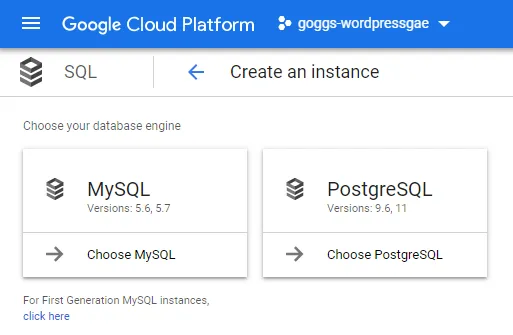
Navigate to the SQL service and click on create instance. Select MySQL as your database engine.

Next, you can configure the size of your instance, automated backups, MySQL version and more. Below is the configuration I have used.
- Choose database version: MySQL 5.7
- Set connectivity: Public IP
- Configure machine type and storage: db-f1-micro (smallest instance type) - machine types may vary between each region
- Storage type: SSD
- Storage capacity: 10GB
- Enable automatic storage increases: Checked
- Automatic backups: Unchecked
- Add database flags: None
- Set maintenance schedule: Sunday, 12:00 - 01:00AM
- Maintenance timing: Later
- Add labels: None
Once you’re finished with the configuration of your SQL instance, click create.
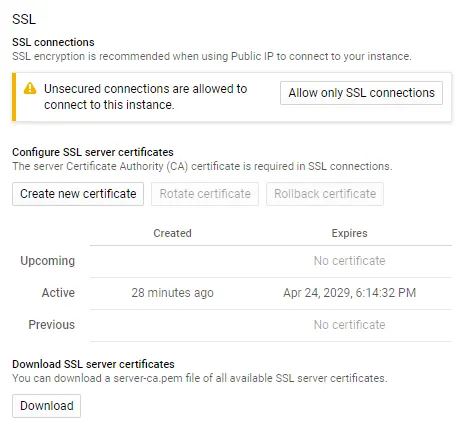
When your instance has created, we want to enable SSL connectivity to the instance, ensuring connections to the instance are secure. Go into your instance, click on connections and click on allow only SSL connections.
Best Practices for Configuration
- Ensure you have a strong password for the root account. Save this password somewhere safe.
- The location of your SQL instance should be in the same region as App Engine.
- Your instance type will need to be big enough to handle your expected traffic. If your website is small with little to no traffic, choose the db-f1-micro instance type.
- The storage capacity of your instance type will need to be large enough to handle the size of your databases.
Cloud Storage
Cloud Storage is Google’s storage platform. Here, you can setup storage buckets to store your files. You’ll need to setup a storage bucket to store images for your Wordpress site.
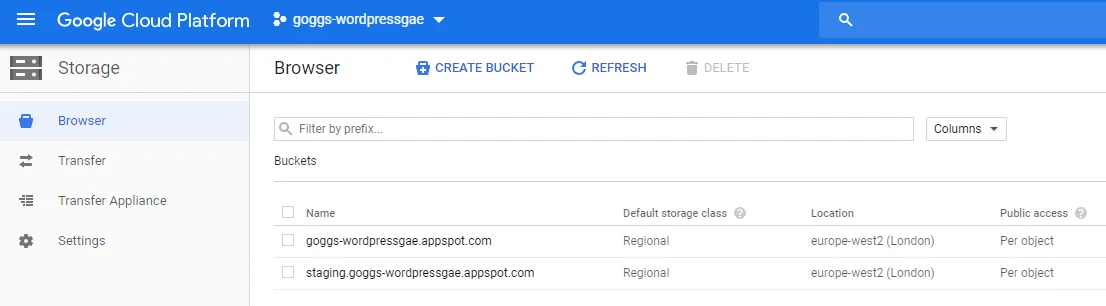
Navigate to Storage within GCP to create a bucket. As you have enabled App Engine, there are two buckets that App Engine created. When deploying your application to App Engine, the deployment process will use these buckets.
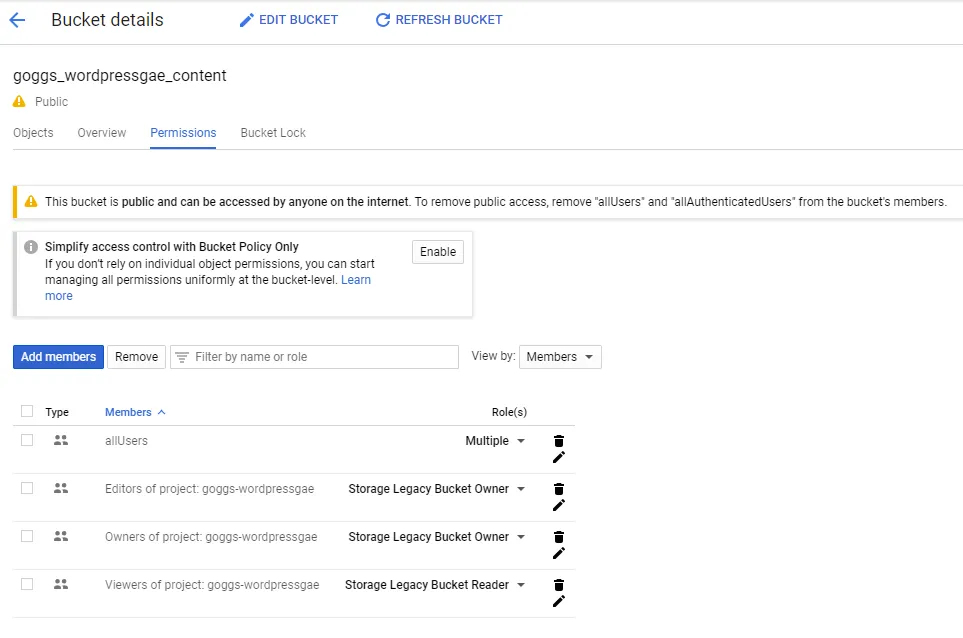
We need to create a new bucket to allow your Wordpress site to store images. This bucket will be publically available, so we need to set the correct permissions. To do this, click create bucket at the top, give it a name and select the storage class you require.
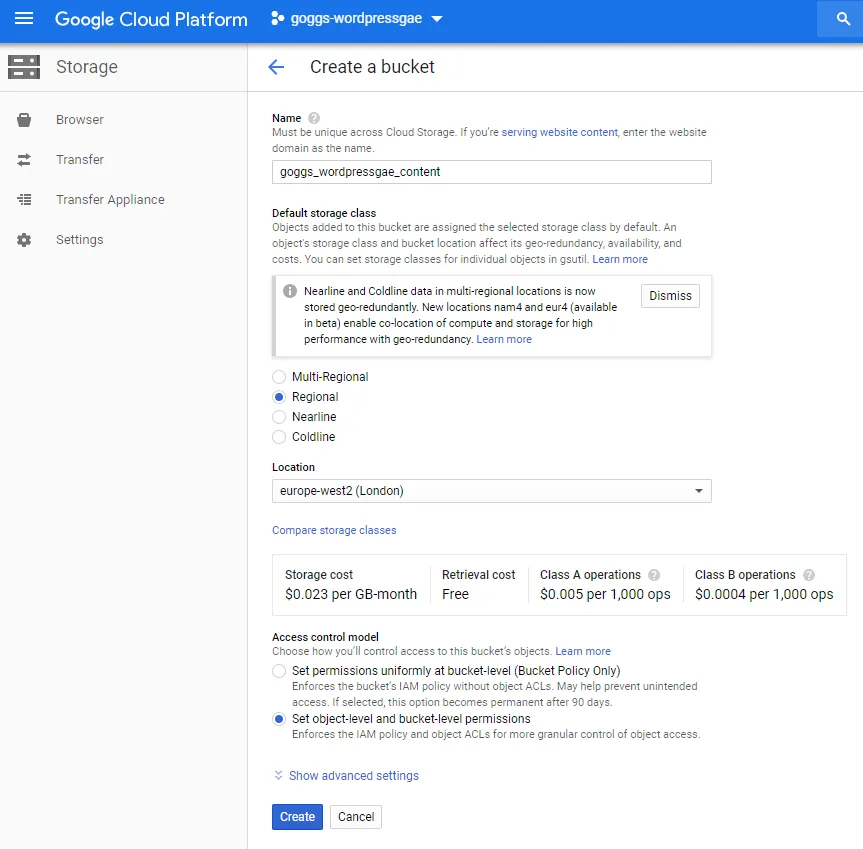
I’ve configured this bucket for object level access instead of bucket level access to allow me to control permissions on a granular level.
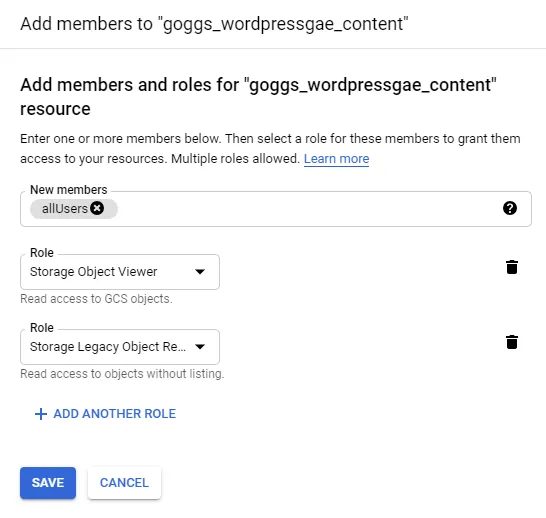
We need to enable objects (files and folders) within the bucket to be publically available. When you’re inside the bucket, click on the permissions tab, then click on add members. In the new members box type in allUsers and, assign the roles Storage Object Viewer and Storage Legacy Object Reader.

The additional permission will now show in the list of permissions assigned to the bucket. You will receive a warning advising the bucket is public and can be accessed by anyone.